
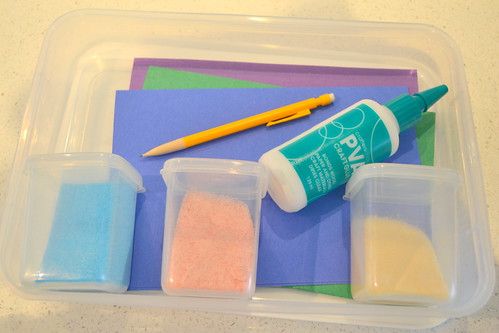
We persevered with our planned glitter art, using the coloured sand instead. Eden and I sat down together with Hubby and Ava to make some lovely sandy cards for our family. All you need to do the same is cardstock, a pencil, white glue, a large flat container and your coloured sand.
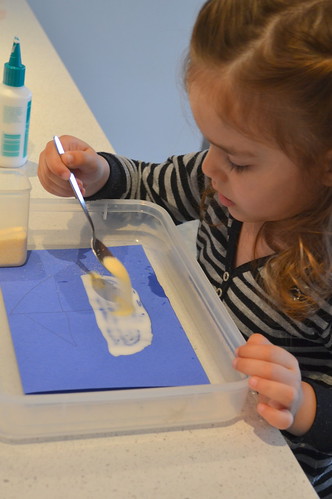
Fold the cardstock in half to make cards, and then draw your design on the front. Help your Munchkin to trace the drawing with the glue; if this is a bit tricky for them, pour some into a container and let them paint it on - it'll be much more manageable for small hands. Eden used a piece of scrap cardboard to spread the glue evenly over large spaces. *Tip: if your little one is making a multicoloured picture only apply glue for one colour at a time, otherwise it will be difficult to isolate sections of the picture for different colours.

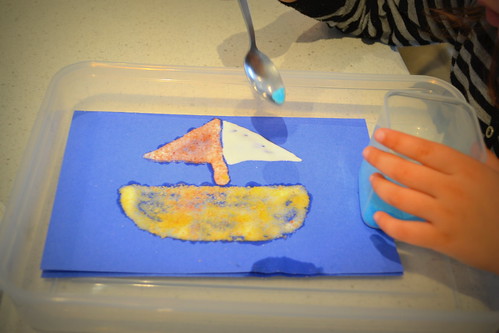
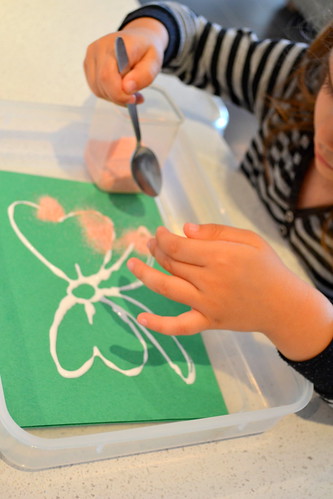
She used a teapsoon to sprinkle the sand over the glue...
... and then we popped it into a flat container, put the lid on tightly, and shook, shook, shook! ("Mummy, I'm shaking it like I shakey Maracas!!")
Repeat until all the colours are done. Allow to dry, and maybe give it a spray with sealant. We sprayed ours because we knew we'd be giving it to family and we didn't want all the grains to fall off. Try some different shapes, and see what works for you!
Thanks for reading. Happy playing! ~L.


No comments:
Post a Comment